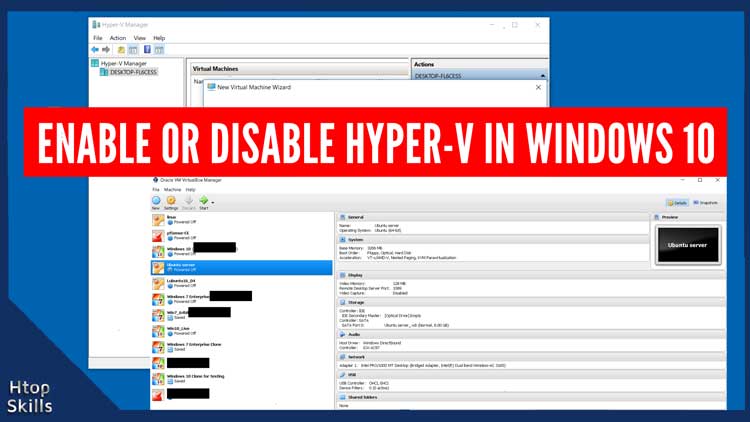
As you can noticed, virtualization and Hyper-V cannot work at the same time on Windows 10. If you have Hyper-V installed and in the same device you have other system like VirtualBox, BlueStacks, the steps in this post will help you disable hyper v using Command Prompt so that you can run your virtualization software.
Go to the Windows 10 search box, then type cmd
Right-click on Command Prompt, and then select Run as administrator to Run Windows Command Prompt as Administrator.
In the Command Prompt window, type the command below and press Enter.
bcdedit
If the hypervisor launch type is set to auto, you must disable it.
To put Hyper-V off, type the command below and press enter.
bcdedit /set hypervisorlaunchtype off
If all goes well, a message will display: The operation completed successfully.
For this to take effect you must restart the computer.
To check the status of the launch type hypervisor, type the command below and press Enter.
bcdedit
To re-enable Hyper-V on Windows 10, type the command below and press Enter.
bcdedit /set hypervisorlaunchtype auto
Video to show you how to disable hyper v using command prompt
What To Read Next
- How to Make VirtualBox Full Screen Windows 10
- Enable remote desktop on Windows 10
- How to access web server on VirtualBox from host
- How to check file integrity in Windows
- Create local account in windows 10 using Command Prompt
If you like the content of this post or if it has been useful to you, please consider sharing it on your social media and follow me on Facebook and Twitter for more exclusive content.

