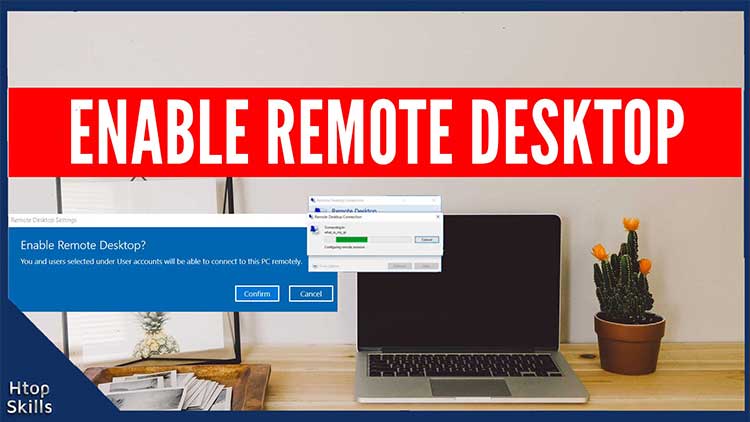
Enable remote desktop on your Windows 10 computer so that you can have full access to it when you are outside. Remote Desktop Protocol (RDP) is a protocol developed by Microsoft that allows graphical connection to a remote computer, file sharing, printer sharing and other resource sharing.
This post provides the necessary steps you need to enable rdp on Windows 10.
Note that the RDP (Remote Desktop Protocol) server is not available in Windows Home Edition, and it is disabled by default in other versions of Windows 10.
How to check Windows version in Windows 10
Go to the Windows 10 search bar, type about, and then click About your PC.
In the Settings window, locate Edition in the Windows specifications.
If you see Edition: Windows 10 Pro, you can enable remote access on your Windows 10 device.
How To Enable Remote Desktop On Windows 10 Pro
Click on Start, then select Settings.
In the Windows Settings window, click System.
On the left side, choose remote desktop.
Click on the slider to enable remote desktop.
In the Remote Desktop Settings window, click Confirm.
Now the remote desktop is enabled, but only the administrator can access the computer.
Add User To Remote Desktop In Windows 10
In the Remote Desktop window, navigate to the User Accounts section, then click Select users that can remotely access this PC.
Click Add.
Type the name of the user you want to add, then click check name.
Click OK to close the Select Users window.
Select OK to close Remote Desktop Users window.
To be able to find the computer on your network, you must turn on network discovery on Windows 10.
Enable Discovery Mode using Show Settings
Go to Start and select Settings.
In the Windows Settings window, click System.
On the left side, select remote desktop.
Click Show setting on “Make my PC discoverable on private networks to enable automatic connection from a remote device”
In the discovery mode section, check Turn on network discovery.
Select Save changes.
Turn On Discovery Mode On Windows 10
Right click on Start, then select Network Connections.
Click on Network and Sharing Center.
Choose Change advanced sharing settings.
Check Turn on network discovery, then click Save changes.
Video to show you how to enable remote desktop on Windows 10.
How to access remote desktop on Windows 10
Go to the Windows 10 search bar, type remote desktop, and then click Remote Desktop Connection. Or you can type the command mstsc to find Remote Desktop Connection.
If you are using an older version of Microsoft Windows, simultaneously press Windows key and R key to open run, type mstsc, and then press Enter.
In the Remote Desktop Connection window, type the name or hostname of the computer to which you want to connect, and then click the Connect button.
Enter the user name and password for the remote computer, and then click OK.
If this is the first time you are connecting to the remote computer, you will see an error message, then click Yes to continue.
How to show Remote Desktop Connection bar in full screen
Navigate to the Windows 10 search bar, type remote desktop, and then click Remote Desktop Connection.
In the Remote Desktop Connection window, click Show Options.
Select the display tab, then at the bottom of the window check “Display the connection bar when I use the full screen”.
If your Remote Desktop connection is already connected:
- To restore connection bar, simultaneously press Alt key + Ctrl key + Home Key.
- To exit full screen in remote desktop, simultaneously press Alt key + Ctrl key + Break Key.
Video to show you how to restore connection bar in remote desktop
What To Read Next
- Access RDP over the internet securely
- Find network shared folders on remote device
- How To Fix Microsoft Outlook Error 0xc0000005
- Map a network drive in Windows 10
If you like the content of this post or if it has been useful to you, please consider sharing it on your social media and follow me on Facebook and Twitter for more exclusive content.

